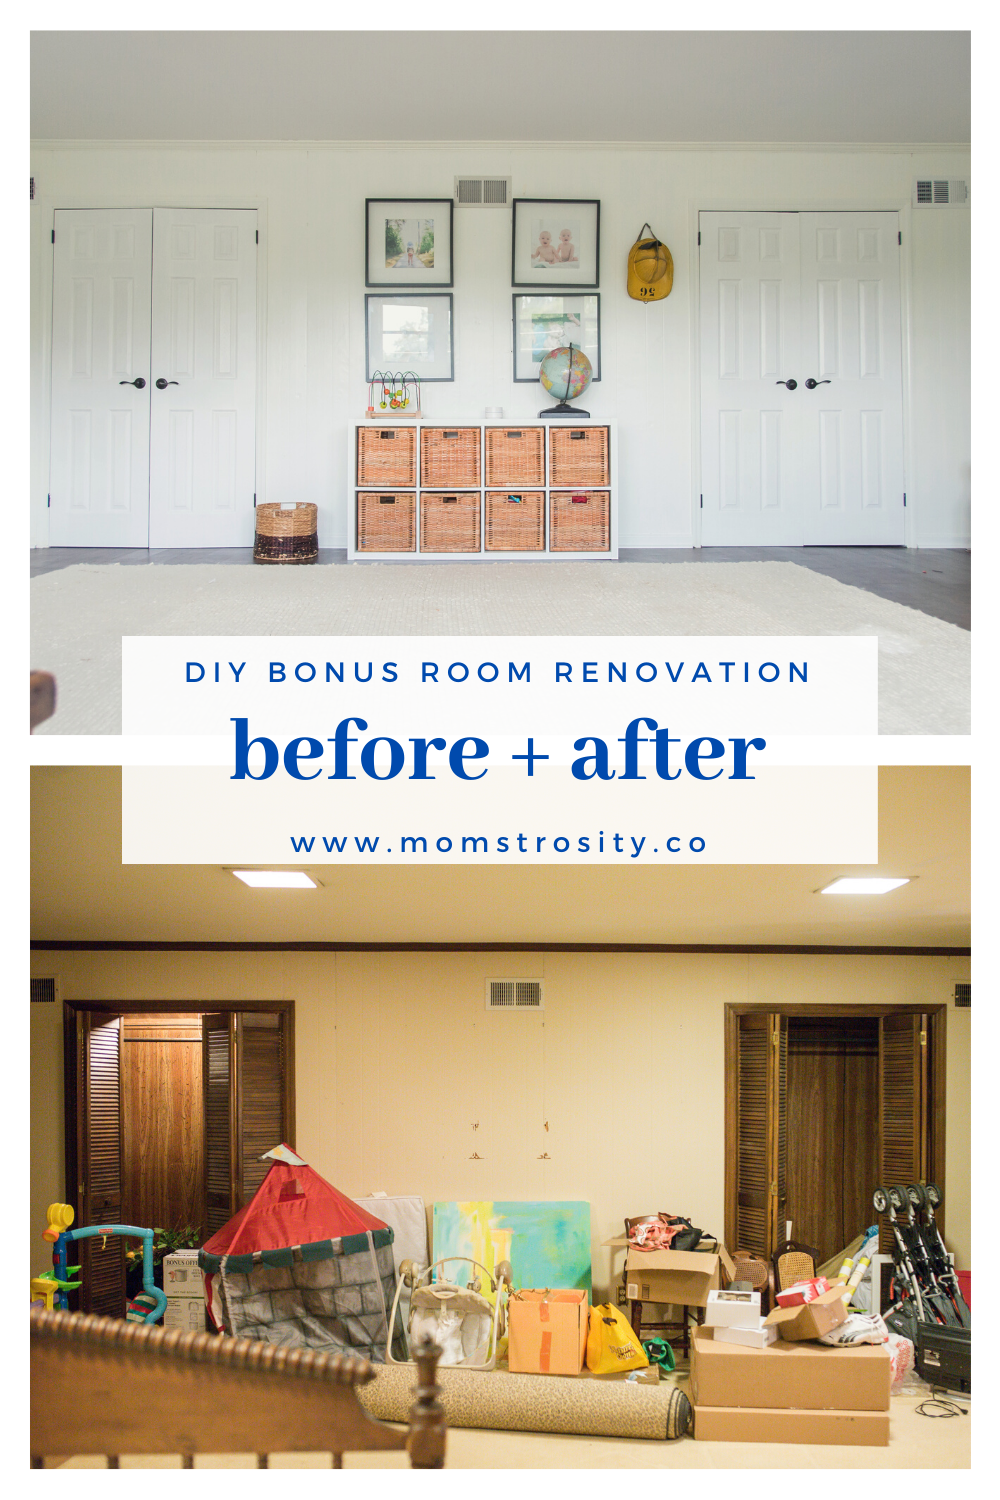
Before and After: The Bonus Room
INSIDE: find our dramatic before and after— a once dingy, dark bonus room becomes light, bright, and modern on a budget!
Note: this post contains affiliate links. By using our links, you help support Momstrosity (at no cost to you!)

You know that one room in your home that’s such a disaster but has SO MUCH potential that it’s almost paralyzing? This was that room for us.
We live in a 1960s ranch with one large room (with tons of storage space) upstairs. For us, it was a major selling point. We knew immediately that we could do so many things with this space— it could be my office, the master bedroom, a playroom for our (then future) kids, a guestroom— the possibilities were endless.
It was all of these possibilities that left us feeling overwhelmed and stressed just thinking about it.
For a loooong time (longer than I care to calculate) it sat empty and was used to house a LOT of crap. Like, tons. It was absolutely hideous and I didn’t want anyone up there.
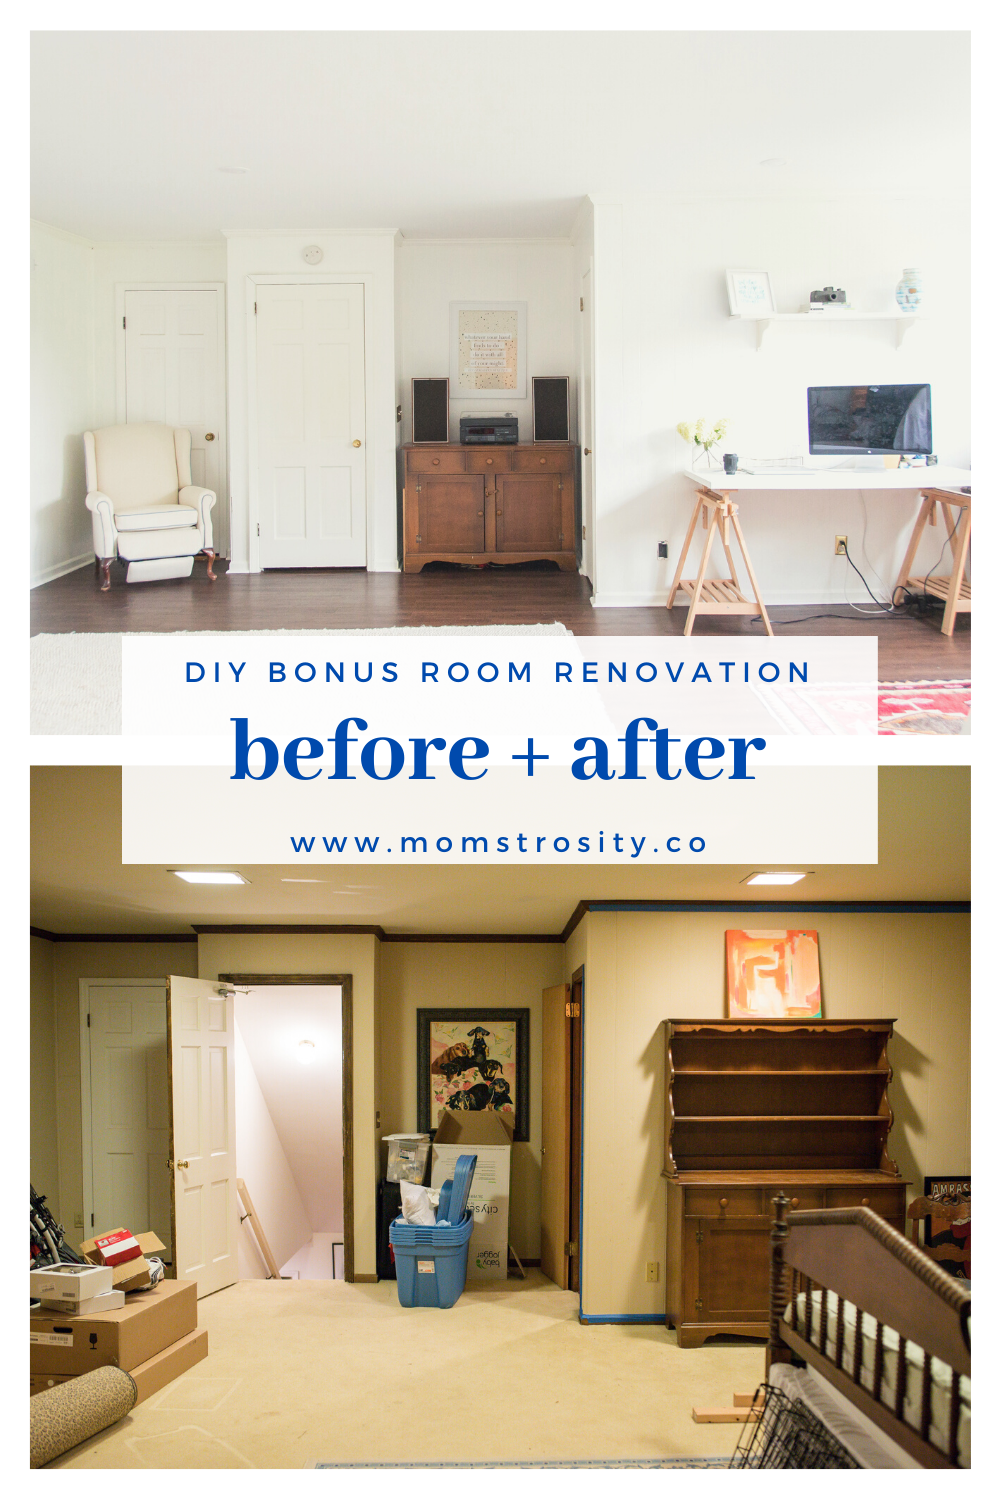
Dark wood paneling, stained carpet, brown paint, and a bathroom of nightmares made me shut the door. Out of sight, out of mind, right?
Well, then our twins came along. As they got older, we needed a playroom that wasn’t our den (helloo, baby toys everywhere!), so we decided to get to work. We broke it into 5 main projects, which we’ll outline below.
1.) Painted the walls and trim
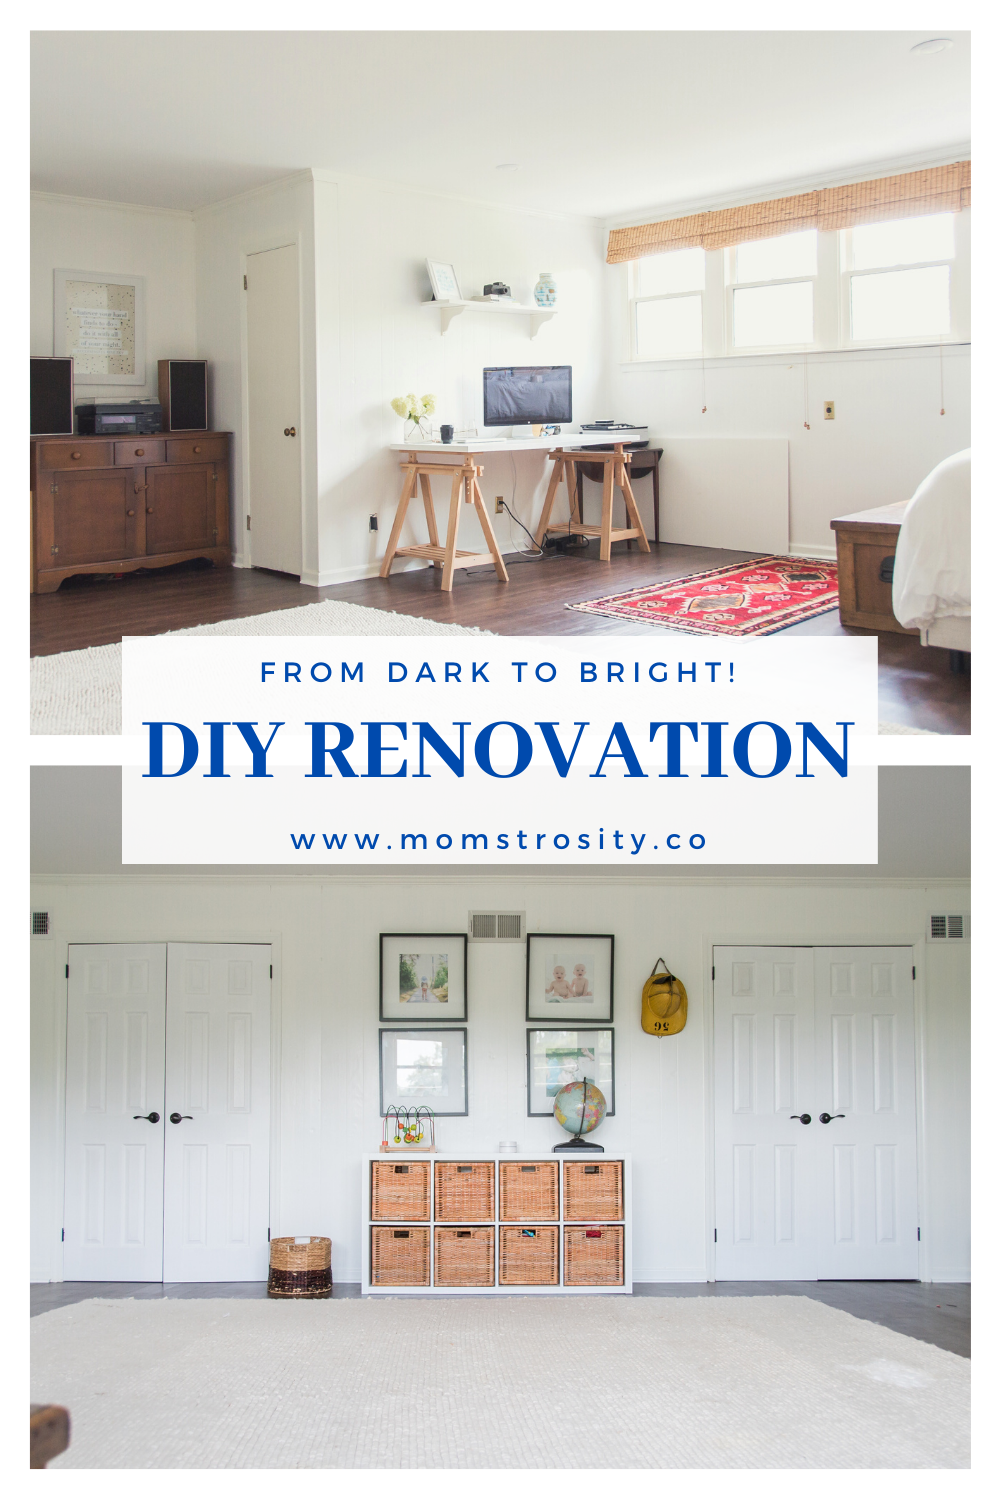
This was a LOT of work, but made arguably the biggest difference. If you know me, you know that I’m not a fan of dark wood, and this room had a lot of it. In keeping with the rest of the house, I bought several gallons of Creamy by Sherwin Williams and got to work.
Creamy is my go-to color for walls, because it’s clean and bright and I prefer to add my pops of color through art and other decor. To me, it’s a beautiful white that works almost anywhere.
All said, it took about 4 coats (yes, 4!) to paint over this bad boy. But goodness, look at the difference!

2.) Swapped out the doors
Originally, this room had dark louvered wood doors, which matched the original scheme well. However, with the new white walls, they were too stark of a contrast. After some back and forth, we settled on white 6-panel french doors with aged bronze handles.

3.) Added recessed lights
The original lights were square and dim, and needed a bit of a pick-me-up. Because we loved the recessed LED lights that we used in the kitchen, we decided to use those again. This project was far more easily said than done, as it required me crawling into the ceiling of the house to run wires. Y’all, it was HOT and it was TINY. I’m not generally claustrophobic, but dang. I don’t want to do that again!
4.) Removed the carpet and replaced with new flooring
This was another gigantic transformation. Ripping the carpet out was a feat unto itself, but also, strangely satisfying. Seeing the other side of that carpet made us VERY glad that we decided to take it out!
We opted for TrafficMaster/Allure Highbourne Oak (similar here) because it was easy to install, matched our floors downstairs well, and was waterproof (dogs + kids = a LOT of messes!). 3 years later, I would install it 10 times over. It’s held up well, looks fantastic, and adds a contrast that I love.

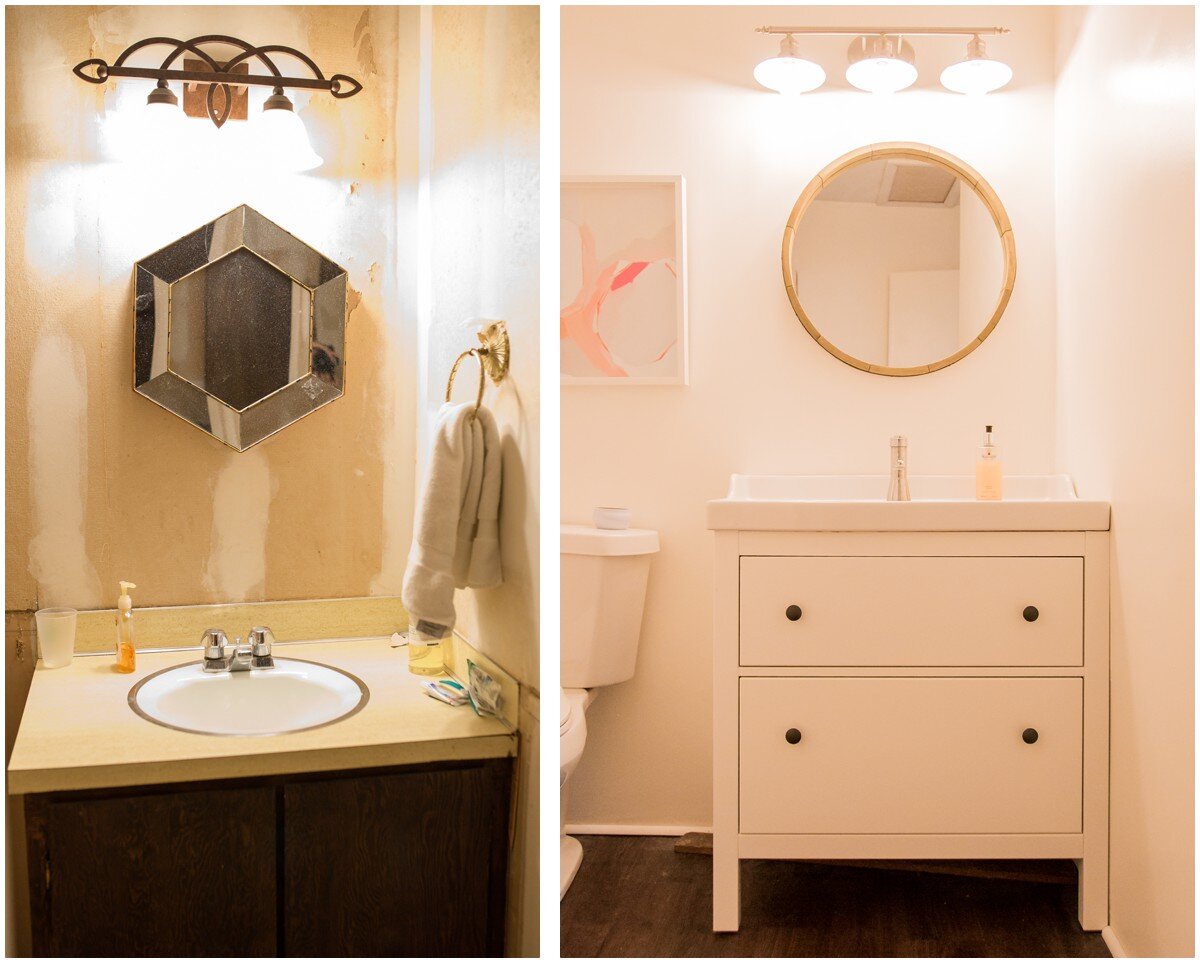
5.) Tackled the bathroom
Y’all. THIS BATHROOM. It was something else. Carpeted, cave-like, and gross. It had to be tackled, but how!?!? Long before we really got to work, I tore down the grasscloth wallpaper in a fit of rage. (Side note: I actually really like grasscloth, but this kind was… weird… and it had to go.) Then, my dad and husband carried the shower insert to the curb, never to be replaced again. Just kidding. We replaced it, but it was like… 1.5 years later.
I digress.
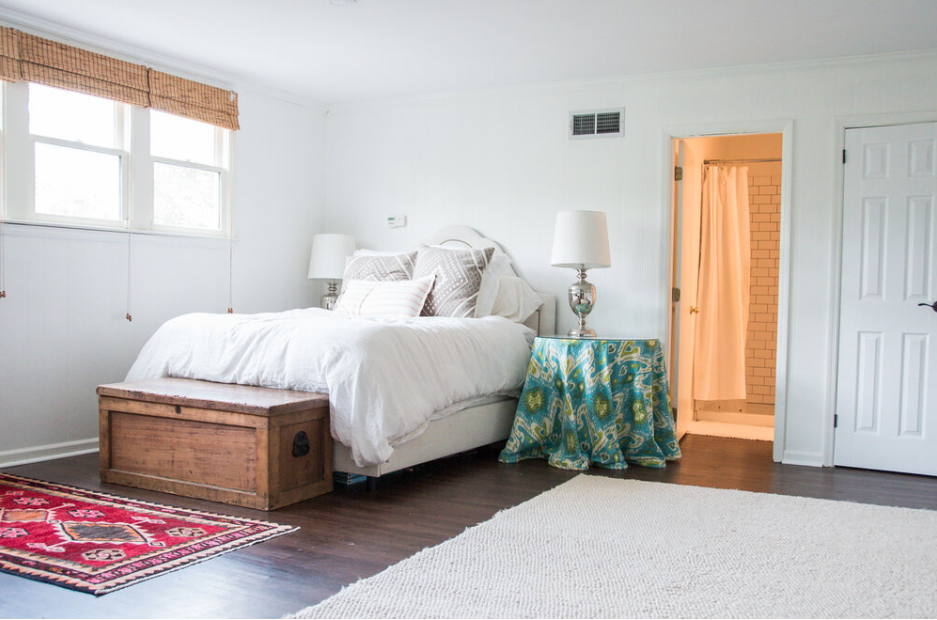
We continued the same flooring into the bathroom, put a shower pan in, and tiled the shower with white subway tile and a charcoal grout.
I swapped out the vanity for a white IKEA HEMNES, replaced the toilet, and added a new light fixture above the sink. A pretty stellar transformation, if I do say so myself!

As far as decor goes, I always do my best to repurpose what I have. The wood hutch holding the record player is a family piece, as well as the trunk at the foot of the bed. As far as the rest go:
White Rug | Pottery Barn
Turkish Rug | Thrifted
Bed | One King’s Lane
Bedding | Pottery Barn
Toy Console + Baskets | IKEA
Desk | IKEA
Square Frames | IKEA
Framed Art | All Good Things Collective, Britt Bass Turner
Bathroom Mirror | Similar on Amazon
Lamps | Target
Chair | Thrifted
So, there you have it! Our bonus room transformation. Have a favorite part? Is there something you would’ve done differently? Let us know in the comments!
WANT TO PIN IT? TAKE YOUR PICK!